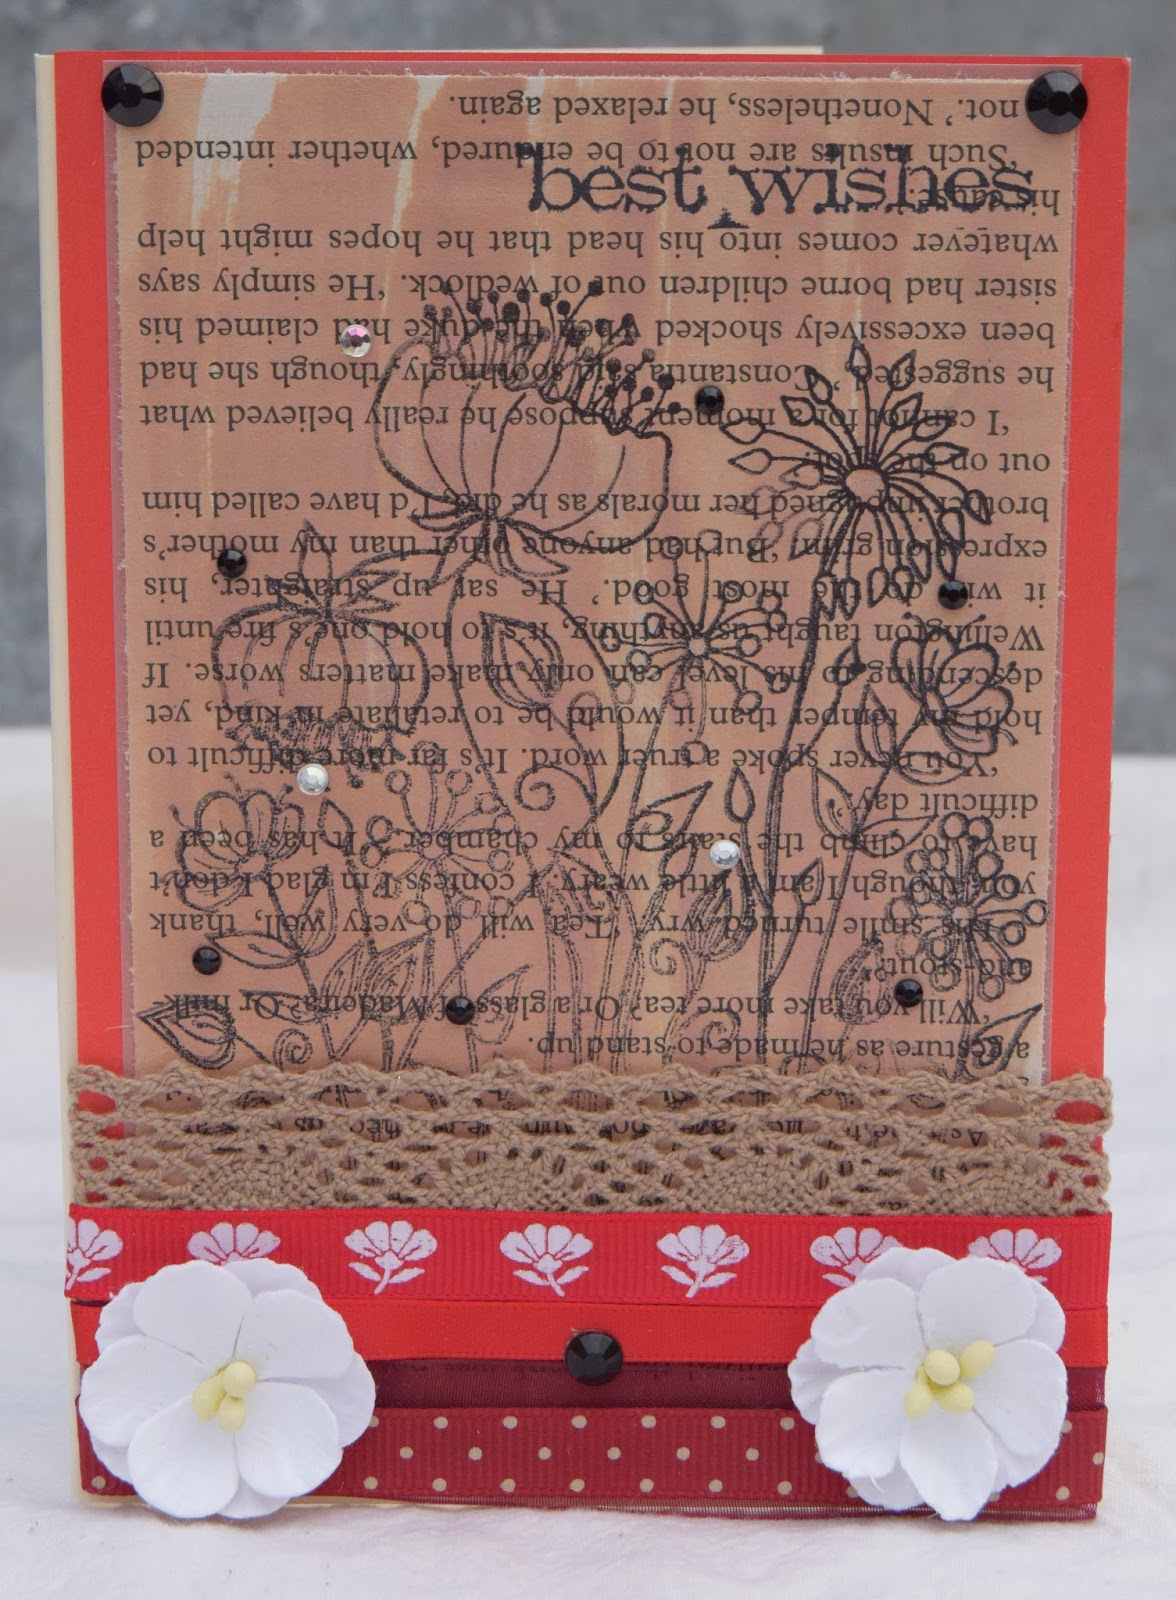
Obiecałam zamieścić tutorial o tym, jak zrobić kartkę techniką 'triple stamping'. W końcu znalazłam nieco czasu, aby go dokończyć i opublikować. To mój pierwszy tutorial, więc proszę o wyrozumiałość ;)
Wszelkie uwagi mile widziane.
I promised to make a tutorial about a 'triple stamping' card. I finally found the time to finish it and publish. It's my first tutorial, so please forgive me any mistakes.
You can write in the comments, what you think about it.
Na samym początku musimy wybrać dwa pasujące do siebie papiery. Jeden powinien być gładki i raczej ciemny (posłuży za tło), a drugi jaśniejszy, może też być z bardzo delikatnym wzorem.
At the beginning of the process we need to choose two matching papers. One of them should be just plain paper in darker colour (this will be our background) and the other one should be light coloured. It can have some very delicate pattern.
Następnie musimy bardzo dokładnie wymierzyć naszą kartę, jeżeli używamy gotowej 'bazy'.
Next, we need to carefully measure our base card.
Musimy także zdecydować, jakie odstępy planujemy pomiędzy warstwami kartki. Zazwyczaj ciemniejszy papier jest widoczny jako cienka obwódka wokół właściwego wzoru. Moja karta miała 15x10.5 cm.
We must decide, how much space we want to leave for each layer of the card. Usually the darker paper is only visible as a thin frame for the paper with the design. My card was 15.0x10.5 cm.
Dla mojej kartki wybrałam takie wymiary:
I chose those dimensions for my card:
14.8x10.3
14.5x10.0
13.0x8.5
12.7x8.2
11.2x6.7
10.9x6.4
Wycinamy prostokąty o wybranych wymiarach.
We cut the paper to chosen sizes.
Prostokąty ułożone od największego do najmniejszego powinny wyglądać tak:
The layers, when we order them from the biggest one to the smallest one, should look like this:
Na razie jednak potrzebujemy jedynie jaśniejszy papier, który układamy w tej samej kolejności co poprzednio. Ciemny papier jest nam nie potrzebny.
At the moment we need only the lighter paper, ordered in the same way as before. We can leave the darker papers on the side.
Warstwy tymczasowo przyklejamy do siebie. Możemy zacząć ozdabianie kartki przy pomocy stempli.
We need to temporary glue the layers together. It is time to start stamping the card.
Ostatni etap to włożenie ciemniejszych papierów tła pomiędzy warstwy ze wzorem. Pozostaje jedynie ozdobić kartkę.
In the last part we need to put the darker, background paper between the layers of stamped paper. All that's left is decorating the card.
Mam nadzieję, że wszystkim podobał się mój tutorial. Życzę wam dużo dobrej zabawy przy robieniu kartek tą wymagającą, ale efektowną techniką.
I hope you liked my little tutorial. I wish you all a lot of fun, while making cards using this demanding, but very effective technique.